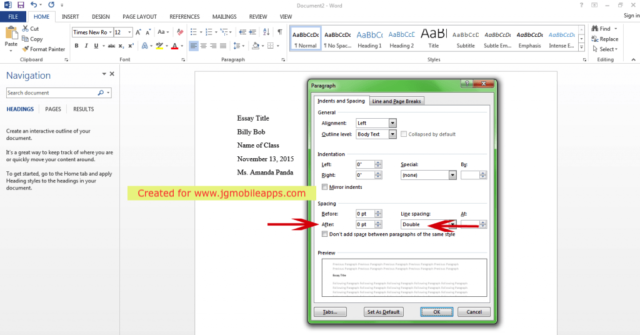
5. Set “After” to 0 and change the “Line Spacing” to Double. Click the “OK” button to close the dialog.
6. Now that we have the proper settings configured let’s make sure the rest of the document uses these settings for the whole document. While the text is still selected, right-click the Normal style and choose “Update Normal to Match Selection”.

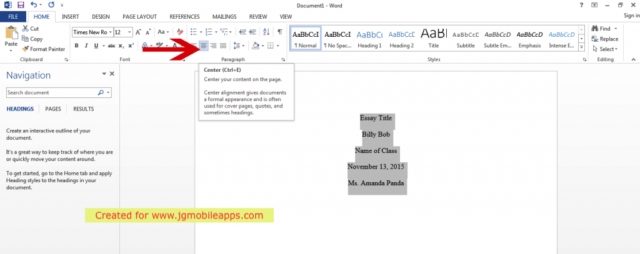
7. Center your text!
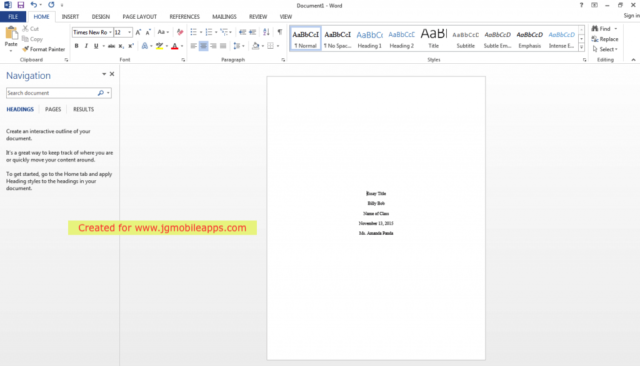
8. Position the text cursor (blinking bar) before the beginning of the essay title. Press “Enter” 9 times to position the text center page. Be sure to re-adjust for team essay papers because a group of student names can take a few lines. Just make your best judgment on centering the text vertically.
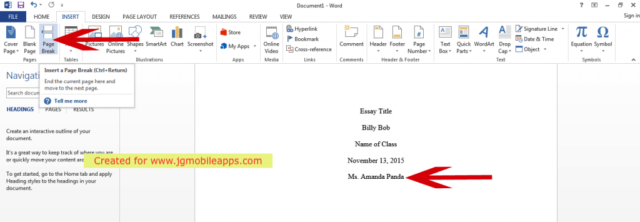
9. The title page is now complete! Let’s work on the rest of the document. To add a second-page click at the end of your instructor’s name. Click on “INSERT” –> “Page Break” or Ctrl+Enter.
10. On the first line of page 2 type “Abstract” and center text.
11. Set the second line text to the left-align. Begin writing. The abstract summarizes the problem, participants, hypotheses, methods used, results, and conclusions. Not all instructors require this page.
Continue to next page for the rest of this tutorial here
American Psychological Association (APA), are registered trademarks of the American Psychological Association.

